Outdoor cameras are the best option if you want to keep an eye on your property and save it from robbers and stealers. No doubt, outdoor cameras can do you a favour in home security, but you might not easily understand how to mount blink outdoor camera. Moreover, after mounting the outdoor cameras, linking them with your system is also a challenging task.
You do not need to worry anymore, as we have got you covered. How? We have come up with a comprehensive guide to mounting blink outdoor cameras. But before that, let us explain what blink outdoor cameras are.
What is a Blink Outdoor Camera?
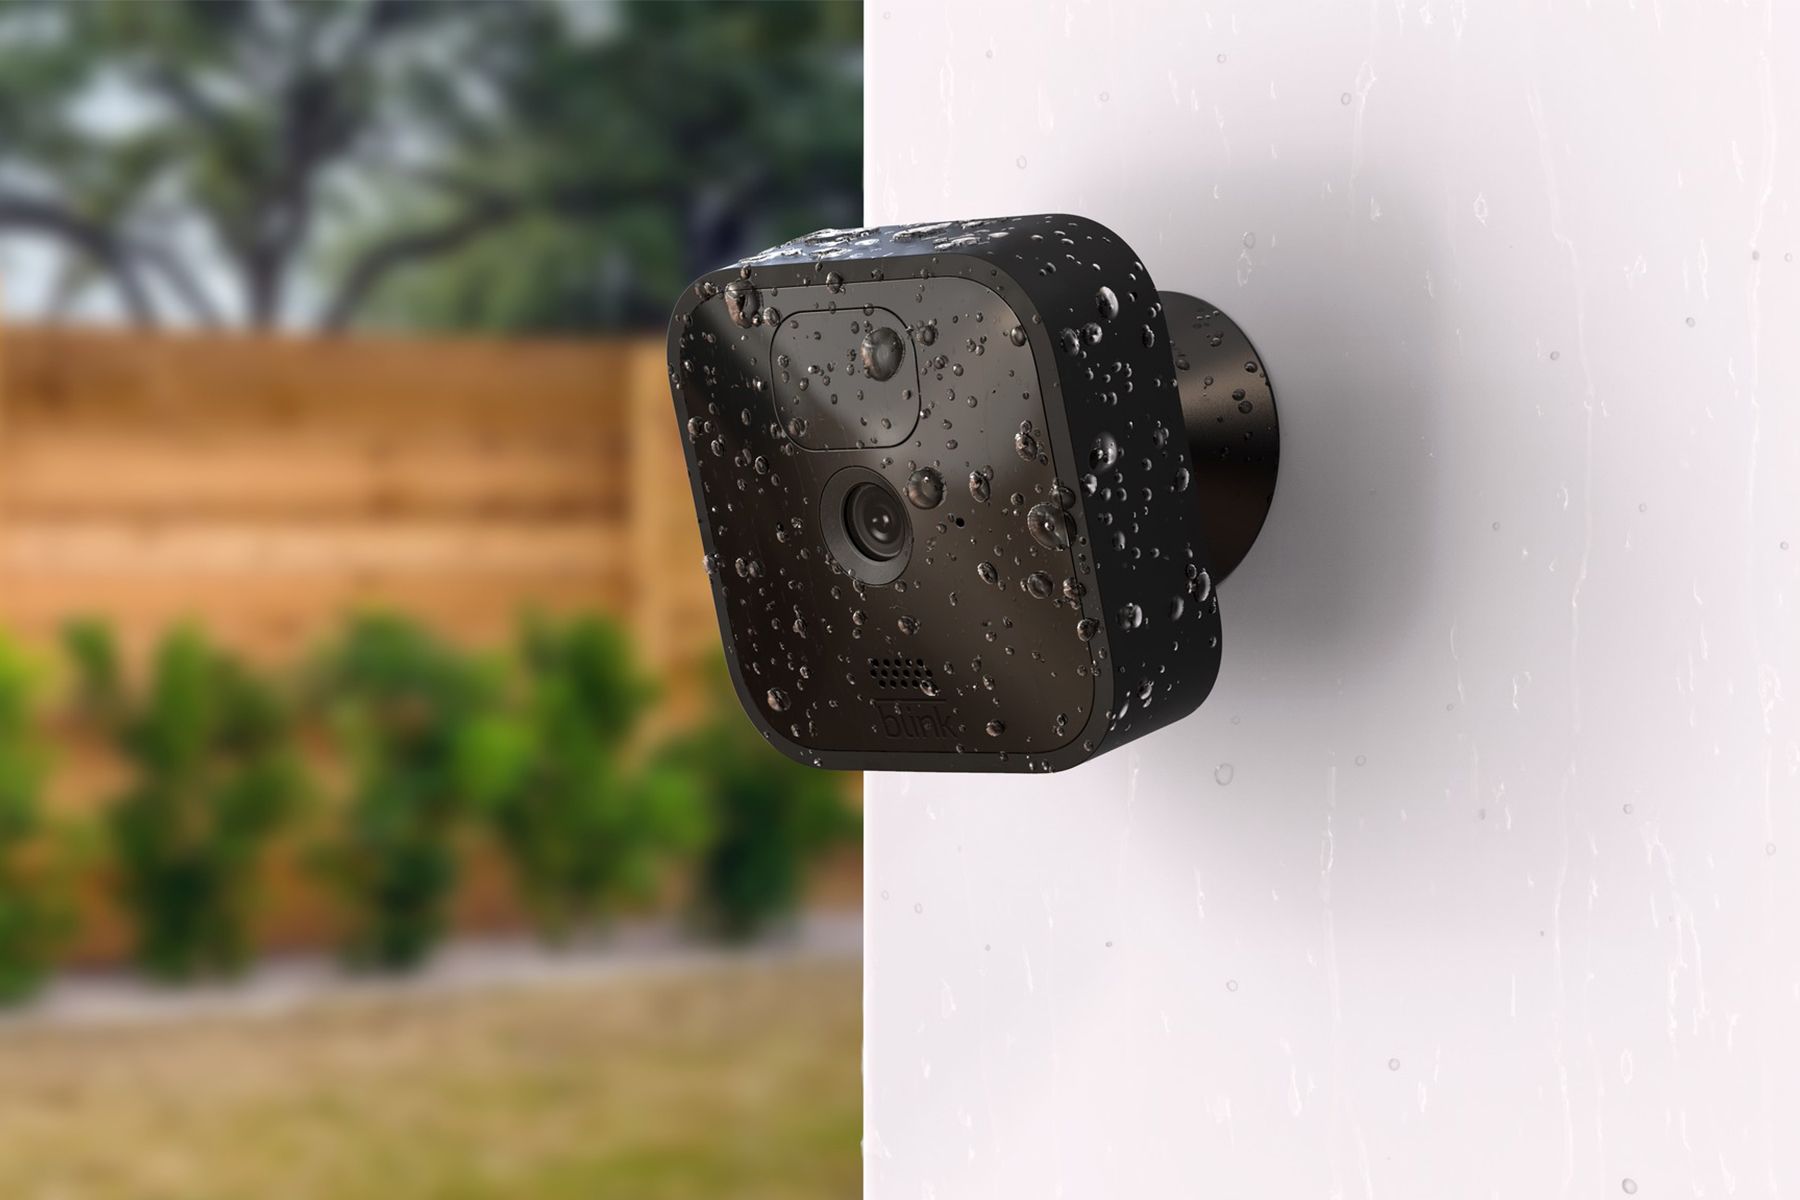
These cameras are intelligent little gadgets made to provide you with a constant view of what is happening outside your home or office.
They are 1080p security cameras that are battery operated, waterproof, and capture video of your home’s outside using a local cloud storage system.
They have strong battery life and are also compatible with smart devices, i.e., smartphones or computers. And above all, they are simple to install, so let’s take a look at how to mount blind outdoor camera.
Set up the Blink Sync Module
Setting up the Blink Sync Module, which communicates orders and network information to your Blink devices is the initial step in connecting any Blink device to your home.
- Click on the “+” icon, which is given in the top-right corner of the Blink app.
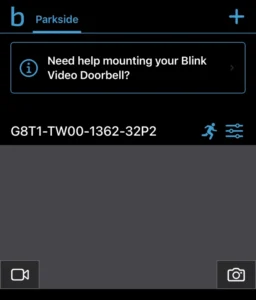
- Choose the option “Blink Wireless Camera System” from the given list

- Now, look at the backside of your Blink Sync Module. You will find out a QR code that will give access to your smartphone camera.
- Scan the QR code, or
- Enter the serial code in a manual manner
- Enter the name of your Blink system and click Done.
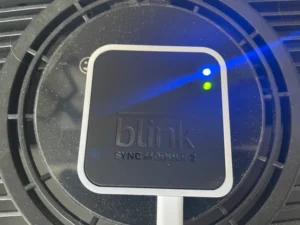
- Wait until the Sync Module begins blinking blue and the green light remains steady. Once it is done, tap “Discover Device.”
- Your Sync Module will yield a Wi-Fi network that begins with BLINK-XXXX. Then click on join.
Link Camera to Your System
After setting up the Sync Module, which is the most time taking and sometimes annoying part of the process, the time has come to link cameras to your system.
If you have got a brand new camera and you do not know how to mount blink outdoor camera, do not worry. Here is the step-by-step process;
- First of all, you should make sure whether you have inserted batteries in your cameras or not.
- If you have not yet inserted batteries into your camera, you should unscrew its back and insert batteries into it.
- Use the tool given in the pack to unscrew the backplate. But if you do not find the tool, you can use a household knife to do so.
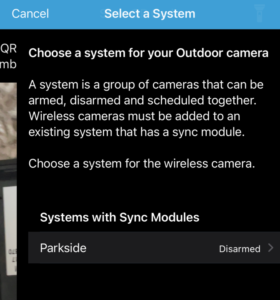
- Next, tap the + in the top-right corner of the Blink camera app and select “Blink Wireless Camera.”
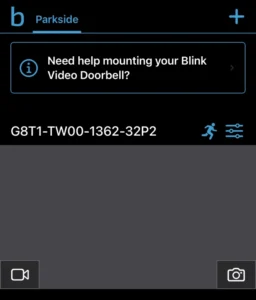
- Scan the QR code which is located inside the camera’s battery portion. Note: Get ready with the backplate. The camera will start looking after scanning the code. For the contacts to connect, you must screw the backplate into position and attach it. If the camera is powered, it will blink red.
- Select your system for the camera.
- If your camera is added, you will get a message on the top of your phone screen.
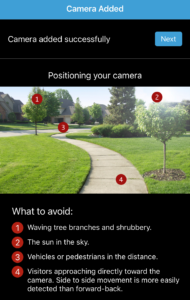
- Tada! You have successfully installed and linked your outdoor cameras.
Conclusion
While it is possible to screw it in place, we discovered that if you have vinyl siding, the no-drill option works just as well. Simply tuck the mount beneath one of the tiles, making sure it fits snugly, and fasten the camera.
The procedure is the same whether you need to screw the mount in. Slide the camera onto the wall bracket after using the supplied screws (and, if necessary, the hollow-wall anchors). We hope we have answered your question: how to mount blink outdoor camera. If you have understood the whole process properly, you can mount your blink outdoor camera easily on your own.

